Beginner’s Guide to Reloading Ammunition
Reloading ammunition can be a little daunting for beginners. From assembling the right equipment to understanding the process and ensuring safety, there are many things to consider.
This guide is designed to help those just starting out to understand the basics of reloading ammunition. We’ll cover everything from the equipment you need to how to actually reload your rounds safely and effectively.
How to Reload Ammunition (Ammo)
Once you’re set to reload your ammo on your own, there’s no dilly-dallying. The following simple process should give you a general overview of how to reload any ammo without narrowing it down to specific calibers:
Before you get started, the first thing you need to do is gather all the necessary equipment and components. You’ll need a reloading press/bench, dies, shells, powder measure, scale, and primers. Find a workspace that has adequate lighting and offers you enough space to work.
After picking up your equipment, you’ll also need the components you’ll use to reload your ammunition. The choices here are brass cases, bullets, and gunpowder. You can usually find brass cases at a firearm range. As for bullets, you can either purchase them or cast them yourself.
Once you have all your equipment and components, it’s time to reload! The process is pretty simple and only requires a few steps:
Clean the Brass Cases
The first step is to clean the brass cases. You can do this by using a case tumbler to remove any dirt, debris, or grime from the brass cases.
You’ll simply dump your brass cases into one of these tumblers stuffed with walnut shells and rice. Then add some polish to the mix and let the cases tumble in.
Since the process is loud and can expose you to lead contamination, it’s best to do the cleaning outside the house where there’s a free flow of air.
If using case tumblers is a challenging process to undertake, you can opt for chemical case cleaners. These will also clean your brass cases but require less effort.
All you have to do is place all your casings in a mesh bag and dump the bag into a chemical case cleaner. It would help if you allowed the case to soak before rinsing with hot water and air drying them.
Alternatively, if the two options aren’t viable for you, you can also use the good old fashioned method of hand cleaning. When you choose to do it by hand, you will have the opportunity to inspect it while you clean.
Resize the Cases
After cleaning the brass cases, the next step is to resize them—this is important because brass cases expand when fired and must be resized back down to their original dimensions.
If you don’t resize the cases, they won’t fit as snugly in the chamber of your firearm, which can lead to dangerous consequences.
There are two main types of brass case resizing: full-length and partial/neck resizing.
Full-length resizing is when the entire brass case is resized back to its original dimensions. Partial/neck resizing is when only the neck of the brass case is resized.
The type of reloading you’ll be doing will dictate which type of brass case sizing you need to do.
For example, if you’re reloading ammo for a bolt-action firearm, you’ll need full-length resizing. But if you’re reloading for a semi-automatic firearm, you’ll only need to do partial/neck resizing.
Load the Primer
The next step is to load the primer into the brass case. Depending on your preference, you can either use an auto-priming system or a hand priming tool. Be careful while loading the primer not to contaminate it with liquids or oil.
Add the Gunpowder
Once the primer is loaded, you’re ready to add the gunpowder to the brass case.
There are a few different ways to measure the amount of powder you’ll need to add. The most common way is by using a powder scale.
You can also use a powder trickler to help you get the powder into the case a little bit at a time.
Seat the Bullet
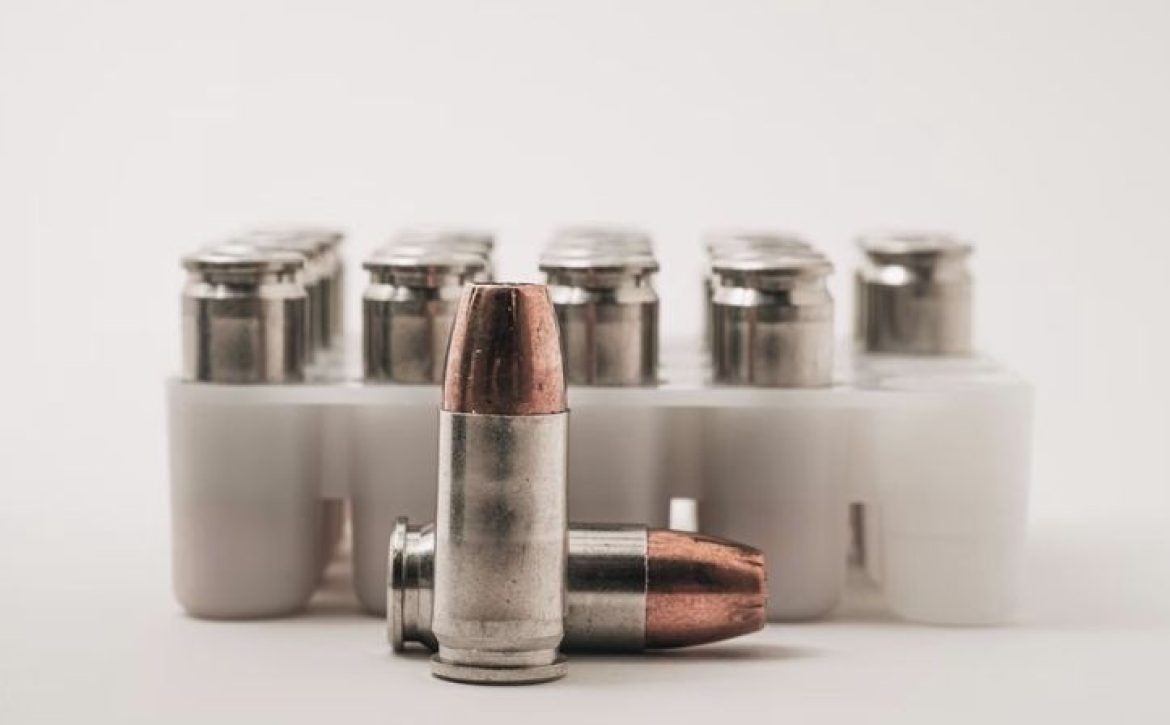
Once you have the powder in the brass case, you’ll need to seat the bullet. Seating the bullet simply means pushing it down into the case until it’s seated on top of the powder. You can use a bullet seating die to help you with this step.
Crimp the Case
After the bullet is seated, you’ll need to crimp the case. This step helps to keep everything in place once the round is fired. You can use a hand-held tool or a press to crimp the case.
Assuming you’re using a single-stage press, here are the steps to follow:
- Insert the brass case into the shell holder and raise the ram to its highest position.
- Screw-in the die until it just touches the shell holder.
- Back out the die a half-turn to allow for any adjustments that need to be made.
- Slowly lower the ram until it is in contact with the top of the brass case.
- Activate the press to begin the sizing process. You may need to apply some pressure to get things started.
- Once the ram has reached its lowest position, stop the press and screw the die-out another half-turn.
- Remove the brass case from the shell holder and inspect it to make sure everything looks good.
- Repeat these steps for each brass case that you need to reload.
These steps should get you going and give you a perfectly crimped case for your reloading project.
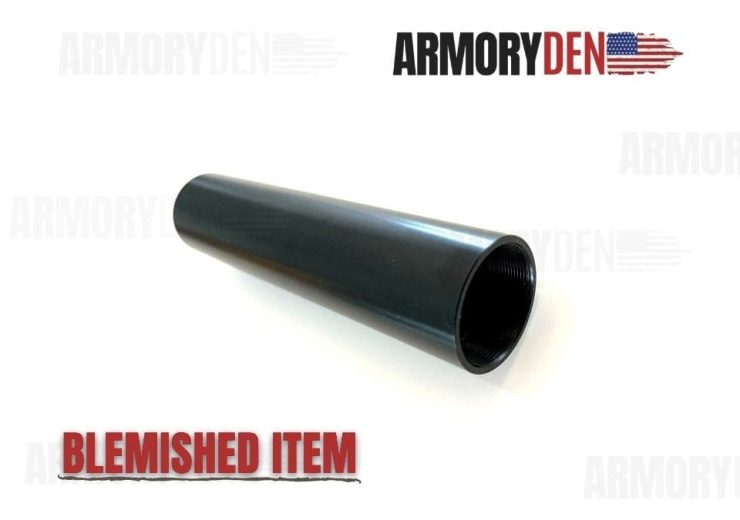
While reloading your ammunition will increase the performance and accuracy of your firearm, proper cleaning and maintenance ensure its longevity. You can buy some of the best solvent trap kits to help clean your firearm and ensure it can operate at its top performance.
Now that you have the basic steps for reloading ammo, you can practice and perfect your technique. With a bit of practice, you’ll be reloading ammunition like a pro in no time!


