Tips for Cleaning Firearms at Home Using Firearm Cleaning Solvent
Did you know that unintentional firearm deaths make up 9% of total firearm deaths worldwide? These deaths usually result from accidents or injuries that occur while cleaning a firearm, playing with or handling a firearm, or using a faulty firearm.
Faulty firearms arise when firearms are used continuously without being cleaned, maintained, or stored properly. Fortunately, we have prepared this guide to help you clean your firearm safely at home so that you don’t fall victim to a firearm injury statistic.
Step 1: Preparation
Before you run off to clean your firearm, there are a few things you need to get in order. While you might think the occasional wiping of your firearm with a cloth can pass for proper cleaning, sadly, it doesn’t even scratch the bottom. The following tips will help you clean and maintain your firearm at home.
Get your cleaning kit ready: Your cleaning kit comprises all the items you need during your firearm cleaning journey. You can purchase the kit as a ready-to-go package from a store or source the items individually. If you decide to source the items individually, here’s what you’ll need to get.
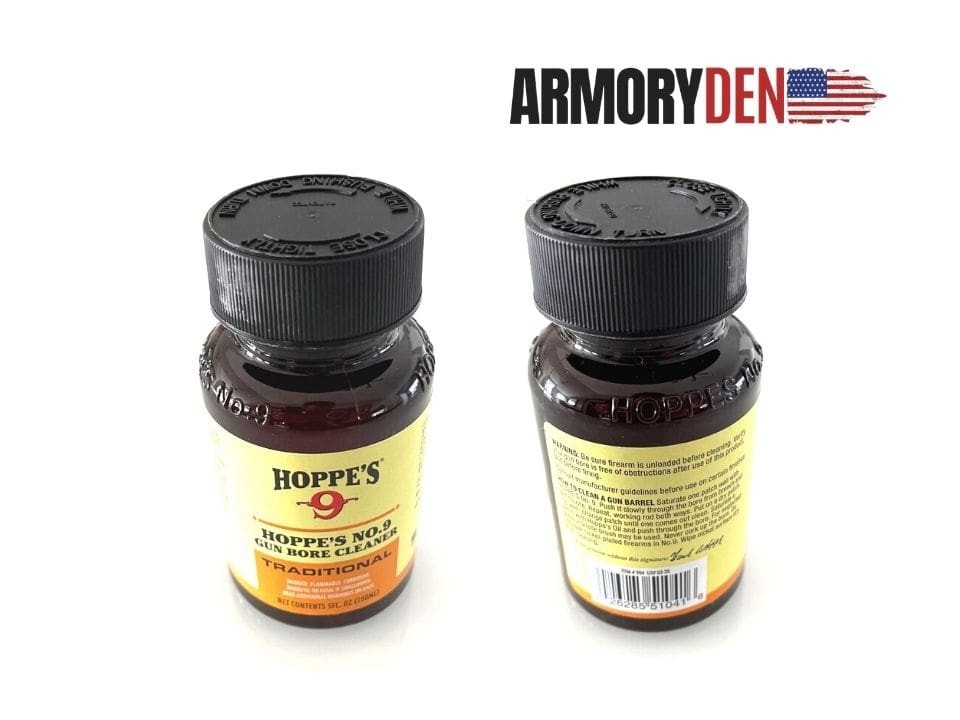
- Cleaning solvents: These are solvents that are used to remove dirt or debris from firearms. They typically come in aerosol cans or spray bottles.
- Lubricants: These are used to protect the firearm from rust and corrosion.
- Bore brush: Used to clean the barrel of the firearm.
- Patch holder (patches): Used with a rod to remove dirt and debris from firearms.
- Cleaning rod: Holds the patches while cleaning the bore of a firearm.
- Cotton swabs: Used to apply lubricant to the firearm.
- Nylon brush: Essential for cleaning the action (pump, slide, or bolt) of a firearm.
- Microfiber cloth: Pre-treated with lubricant to remove any residual debris while giving the firearm an extra shine.
- Solvent traps: Installed on the threaded barrel of firearms for trapping firearm cleaning solvent.
- Flashlight: This is more or less important, depending on your environment. You may not need a flashlight if you’re cleaning your firearm in a well-lit environment. However, your flashlight should be your best buddy if you’re in a dim environment.
Unload your firearm: Once you have assembled the cleaning kit and materials, the next step is to unload your firearm. This step is crucial as it ensures your safety during firearm cleaning.
__
Disclaimer: Armory Den, Inc. | www.ArmoryDen.com does not accept liability for any death, injury, environmental harm or any other negative consequence caused by those that read this article. This article is for information and educational purposes only. It’s important that you maintain very safe standards, standards that may even exceed what this article states, prior to handling any firearm!
__
To unload your firearm, first, remove the magazine from the firearm. Then eject the last round that is usually left in the chamber. This is especially important for semiautomatic pistols and rifles. Next, look through the chamber and barrel to ensure no additional round is stuck due to malfunction. Once you’ve successfully unloaded your firearm, it’s time to disassemble it.
Disassemble your firearm: The steps for dismantling your firearm may vary depending on the make and model. While some firearms like revolvers and bolt actions might not need to be disassembled for cleaning, others like semiautomatic pistols and rifles need to be properly disassembled.
If you’re not familiar with the process, consult the manufacturer’s guide of your firearm for steps on how to disassemble your firearm.
Step 2: Cleaning
You’ve gotten your materials ready, unloaded your firearm, and disassembled it properly; congratulations! Now it’s time to get down to the business of cleaning.
- Install your solvent trap. Attach your solvent trap to the threaded end of your firearm barrel. This step is important if you wish to clean your firearm properly without making a mess.
- Clean the bore. Attach a patch soaked in cleaning solvent to the cleaning rod and use it to clean the firearm’s bore. Start from the back of the bore to clean so that any excess solvent used drains into your solvent trap.
Pass the rod and patch through the bore of the firearm from one end till it enters the solvent trap.
- Switch to bore brush. Next, remove the patch holder and switch to a bore brush. Run the brush through the bore 3 to 4 times to loosen any dirt or debris that might have stuck to the barrel.
Attach a new solvent-soaked patch and run the patch through the bore just like in the previous step. Repeat the patch and brush process until a clean patch free of debris emerges from the bore.
- Lubricate the bore. Once you’ve achieved a dirt-free patch from the previous step. Remove your solvent trap and lubricate the bore. Apply a few drops of lubricant to the cotton swab and run it through the bore, leaving a light oil coating inside.
- Clean the action. Once you’re done with the bore, apply a few drops of solvent to a nylon brush and clean the action properly. Allow the cleaned parts of the action to dry, then lubricate with a lubricant. Applying too much oil might attract dirt and debris, so it’s best to apply according to the manufacturer’s specifications.
- Don’t forget the magazines: The magazines house the firearm ammunition, so don’t forget to clean them properly. A functional magazine means that ammunition is fed properly to the receiver.
Step 3: Coupling
- Reassemble your firearm. After disassembling and cleaning your firearm, you will need to reassemble it back. Again, if you’re unfamiliar with this process, consult the manufacturer’s guide for instructions.
- Perform a functional check. Once you’re done reassembling your firearm, it’s time to perform a functional check. This check ensures that all parts of your firearm work perfectly after cleaning. Go to a safe and clean environment or a nearby range and fire off a few rounds of your ammunition to complete the check.
- Wipe down your gun properly. After completing your check, use a microfiber cloth or luster/reel cloth to wipe down your firearm for fingerprints or any residual dirt or debris left on the firearm. If you don’t have a reel cloth, you can also use a sock or any cloth you don’t need.
Extra tip: As an extra tip, don’t clean your firearm indoors or in sealed rooms. Instead, look for well-ventilated areas in your home or open your garage door and do your cleaning operation.
The importance of cleaning your firearm properly cannot be overemphasized. A clean and well-lubricated firearm reduces the chances of firearm malfunction, boosts your confidence in your firearm, and ensures that your firearm lasts for a long time.
At Armory Den, we are committed to ensuring that your firearm remains clean, functional, and lasts for as long as possible. We offer a high-quality firearm cleaning solvent that is sure to remove dirt, debris, and any fouling that might be present in your firearm.
Even if you’ve never cleaned your firearm before, armed with the tips in this guide and our firearm cleaning solvent, you can rest assured that your days of using dirty firearms prone to malfunction are over.


